Outdoor Projector Setup Guide
Six repeatable steps to get a bright, sharp, hassle-free outdoor projector image every time — whether you're in the backyard, on a patio, or at a campsite.
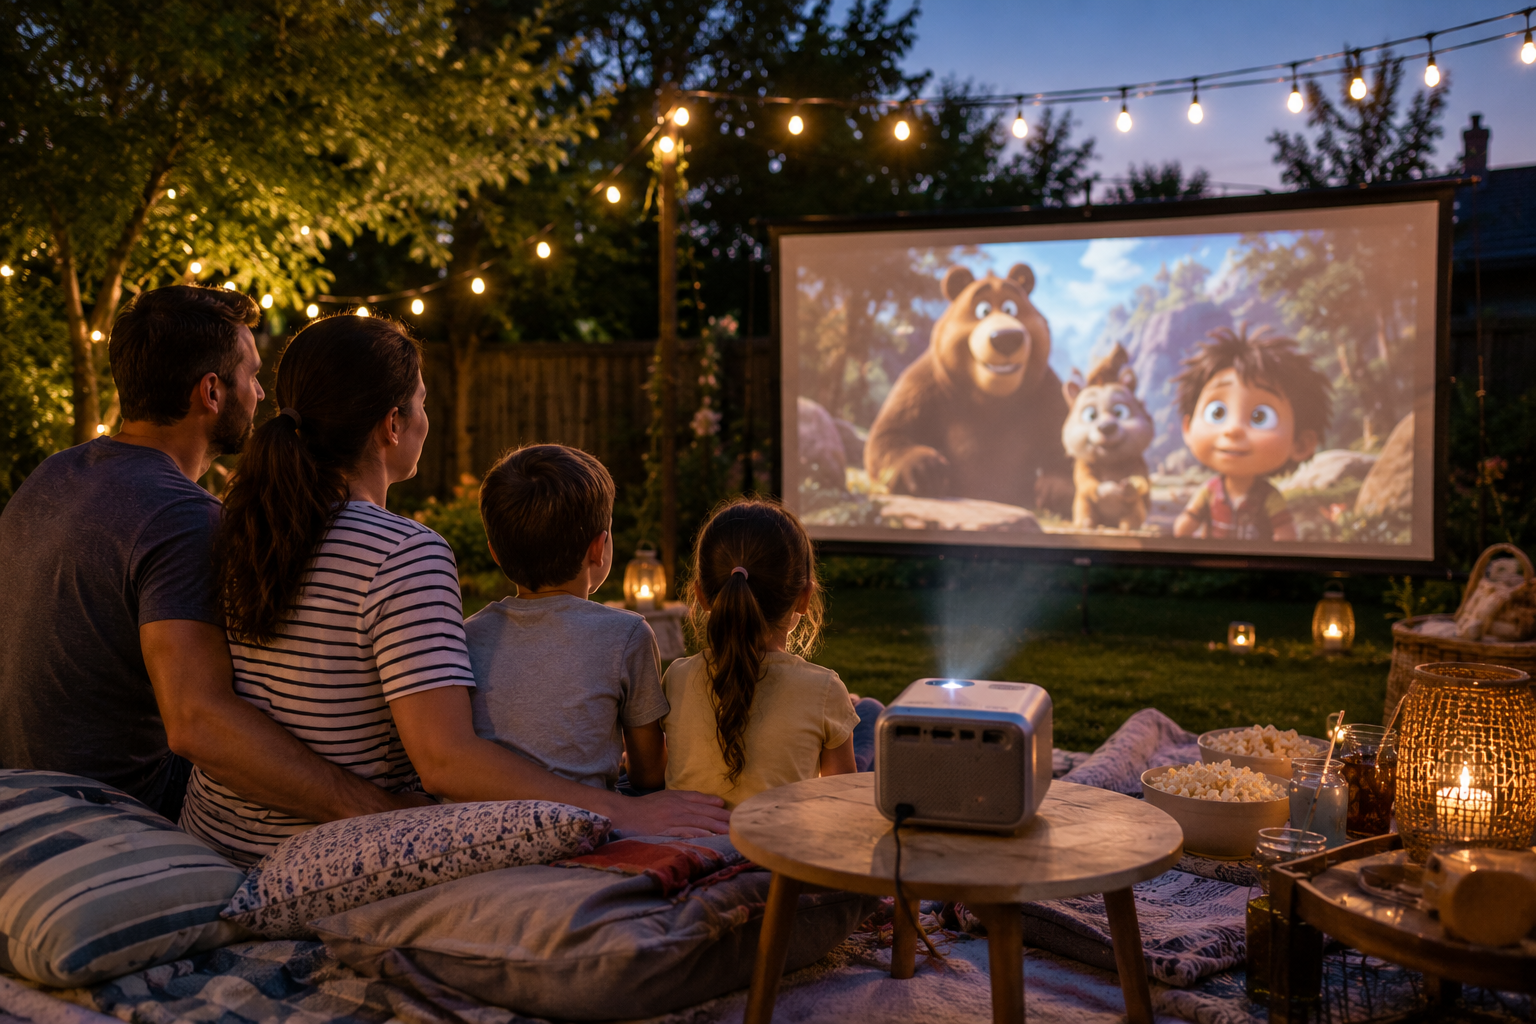
1. Choose Your Location
Flat ground, a screen surface (sheet, pull-up screen, wall, or garage door), and a stable spot for the projector — a folding table 30–40" high is ideal. Face the screen away from house lights and street lights.
2. Get the Throw Distance Right
Most home projectors need 8–12 feet of distance from the screen for a 100" image. Too close = small picture. Too far = dim picture. Check your model's throw ratio; the XENPONAD H7 hits ~100" from ~10 feet.
3. Run Power Safely
Use an outdoor-rated extension cord (heavier gauge, weather-resistant plugs). Keep the connection off wet grass — a small plastic tote or milk crate works. Never coil an extension cord tightly; heat builds up.
4. Focus and Align the Image
Turn on the projector, aim at the center of the screen, and run auto focus + auto keystone. If your projector doesn't have those, do it manually: adjust the focus ring until text is razor-sharp, then use keystone to square the corners.
5. Add Real Sound
Built-in speakers get swallowed outdoors. Pair a Bluetooth speaker (JBL Charge, Anker Motion Boom, etc.) or use a portable soundbar. Position it near the screen, not behind you.
6. Kill Ambient Light
The #1 reason outdoor projector images look bad is ambient light. Turn off porch lights, motion-activated floodlights, and any string lights pointing at the screen. Aim string lights away from the projection surface.
Recommended Projector
All of these steps take under 5 minutes with a smart projector like the XENPONAD H7 — auto setup + built-in streaming eliminates most of the fiddly work.